 |
 |
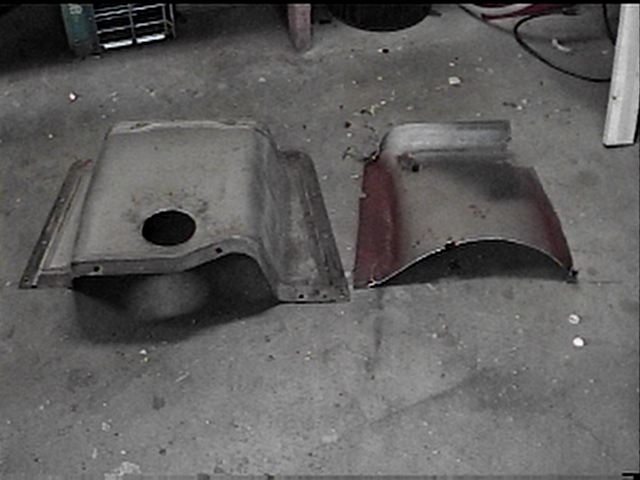 |
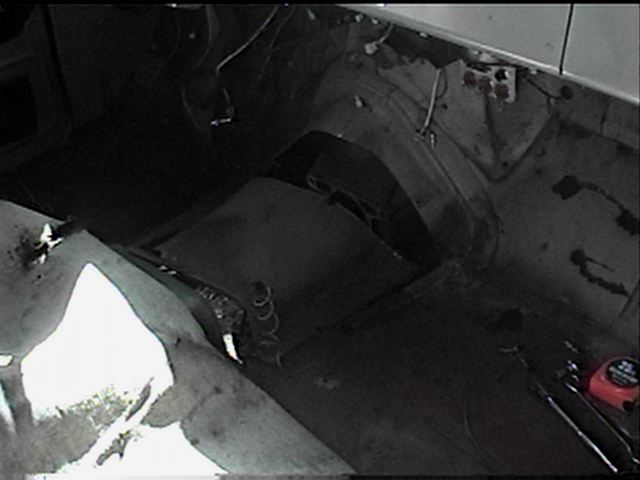
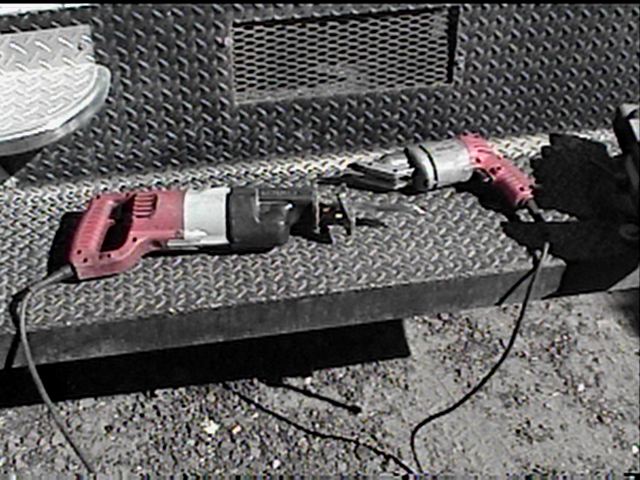
| I thought I'd spare you the details of removing carpeting, radio & stereo gear, etc. This is the flat floor of a 3-on-the-tree 'Burb. I did extend the clutch rod's cut in the carpet all the way back to the seat. This lets me fold back the carpet on the passenger side only. | These are the needed tools to cut out the floor board. The large 4-speed needs a few more inches of clearance then the old! | The right is the old floorboard. The left is a removable pan from a 3/4 ton pickup. Yes, it does fit. |
 |
 |
 |
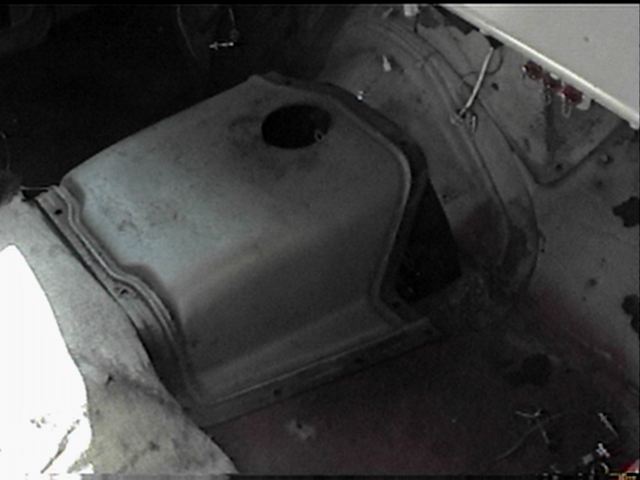
| The new hole for the new tranny. Follow the inner stamped seam around with the shears. Finish the corner cuts with the Sawzall. I forgot to get a picture of the old tranny in place, but we cut out the floor with it still in there. | Notice the 3/4 ton floorpan drops right in the existing floor's molded groove. The front piece will also have to be replaced from the 3/4 ton donor truck. | A closer look at the molding. The floorpans were stamped, but not cut out unless the factory orders called for a 4-speed. |
 |
 |
 |
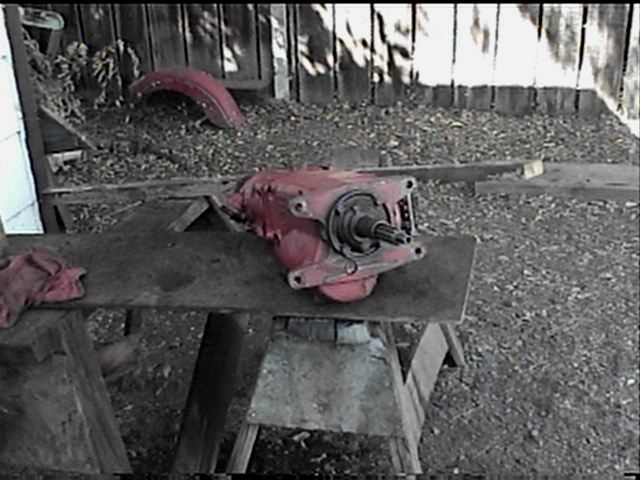
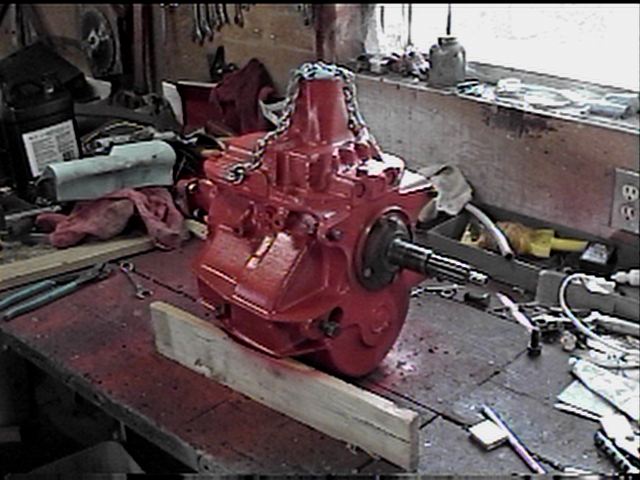
| Now that the floorpan's cut out, reach down the hole & remove the old tranny. Even the bigger T-85N was a 15 minute job from the new access hole! | A couple of views of a ready'ed SM-420 tranny. The New Process 420's were almost the same unit. | The PTO cover is on the driver's side of these trannys. They are on both sides af a 465 box. Yes, it's as heavy as it looks. |
 |
 |
 |
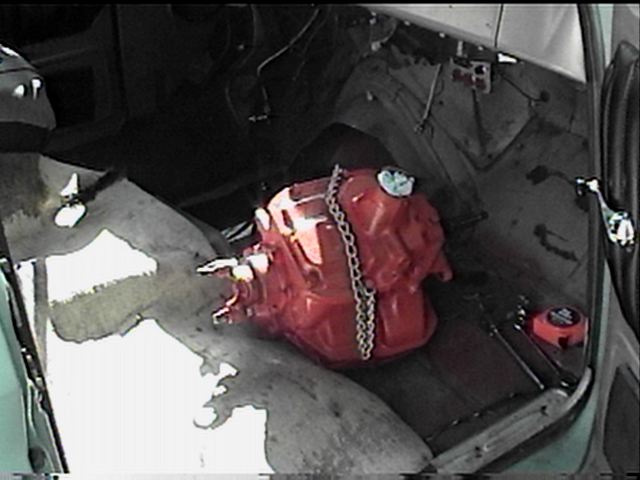
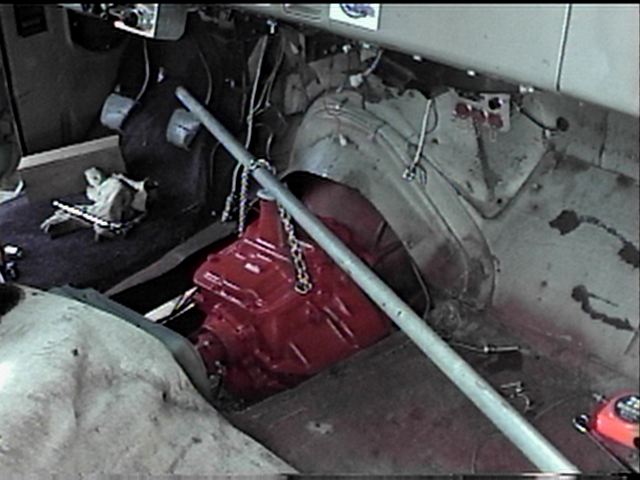
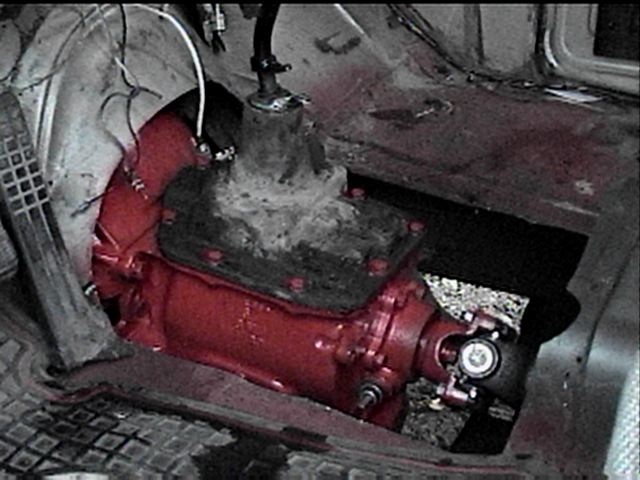
| After staggering to the truck with the beast, the WebMaster popped his eyeballs back into their sockets, & got ready to drop it down the hole. | We used a 1" water pipe & hooked it over the brake pedal. The tranny slid easily over the hole, & we dropped & slid it into place. This clutch isn't very old, so I didn't replace it. If you don't step on the clutch when the tranny's out, it will be already perfectly lined up. | Installed, & ready to run. You might replace the clutch & throwout bearing if they've been in the truck for a while. Now's the time to do it!! You'll need a pilot tool if you pull the disk out. make sure the throwout bearing is over the input shaft as it goes into the hole. It falls off easy. |
 |
 |
 |
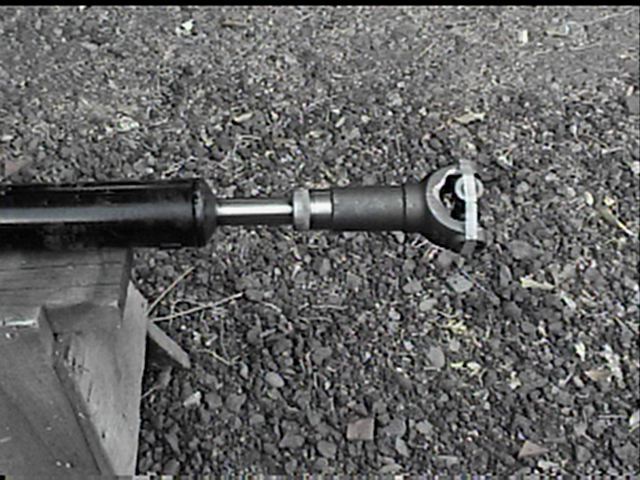
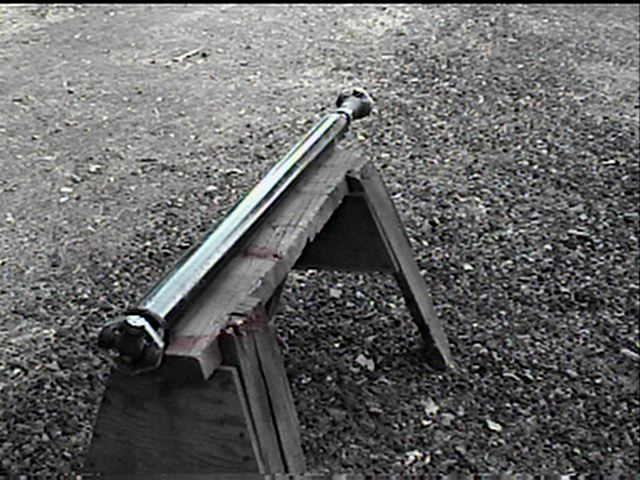
| This is the key to NOT having to install a carrier bearing & two short drive shafts. Six States Distributers Inc. added a new slip & spline setup. ...& 8" to the original length. The SM-420 is this much shorter than a car transmission with it's tailshaft & yoke. | Here's the special built driveline. It needed 65 inches U-joint center to center in the truck. The new slip yoke has about 6" travel. (3" each way from the 65") Since the SM-420 has no slip yoke, it's either this, or a carrier bearing & 2 shafts! | This is a Spicer unit, & is basically a one ton truck U-joint & slip & spline assembly. $170.94 complete. I don't think I'll be breaking this U-joint anytime soon. |
 |
 |
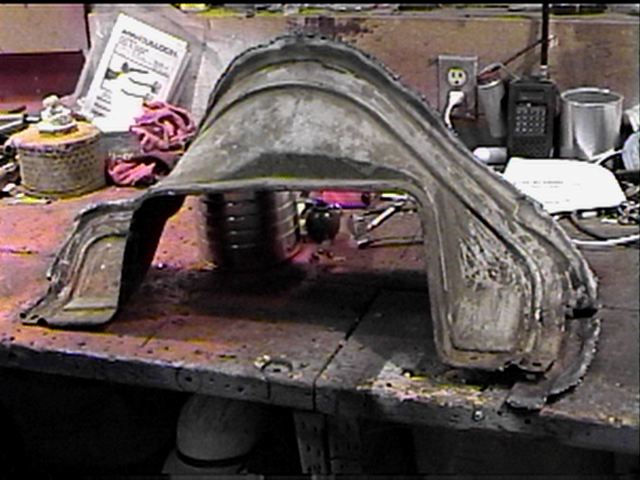 |
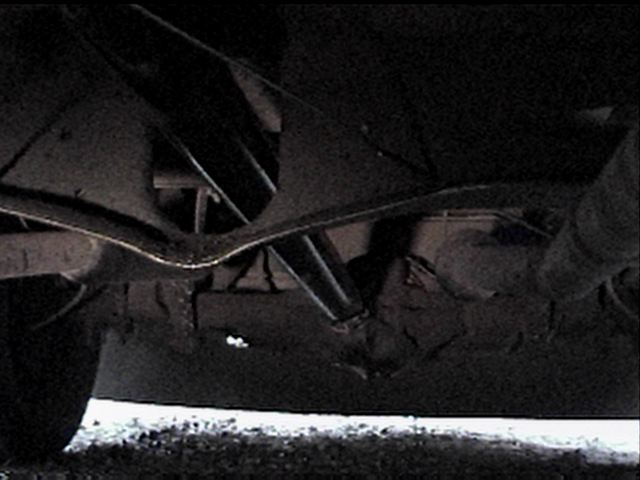
| The other shifter assembly had a weak detent spring in the 3rd/4th rod, so I traded with another one at Dan's Garage. You think this looks funny, you should see the brand new looking, clean, bright orange shifter cover on the sludge pot in the junkyard! Don't worry, I cleaned & painted this one! | This crossmember is where a carrier bearing would usually mount, but I went with the one piece 'line. The one piece driveshaft is very smoooooth at freeway speeds. The hole will catch the 'shaft & keep the truck from pole-vaulting if it breaks a U-joint & throws it. | Here's the torched out front half of the firewall - floor piece.
It's spotwelded to the donor truck's firewall, so you will need to cut it out with a torch wider than the actual floor cover piece. Changing to the new floor profile is about the hardest part of the whole conversion job. |
 |
 |
 |
|
|
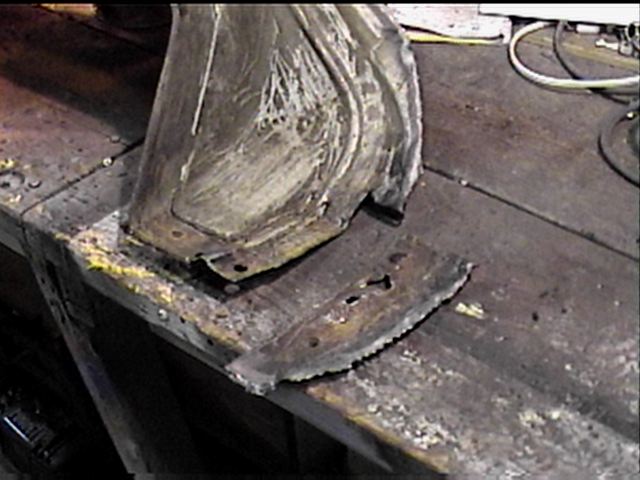
The new firewall piece will lay right in the molded groove on the existing one in the truck itself. The first piece of the old firewall is cut loose here. | Here's the bottom side. Notice the way the outer edge is attached. Follow the scrap piece around & chisel all the welds apart. Fun work!! The entire surrounding metal has to be removed. |
 |
 |
 |
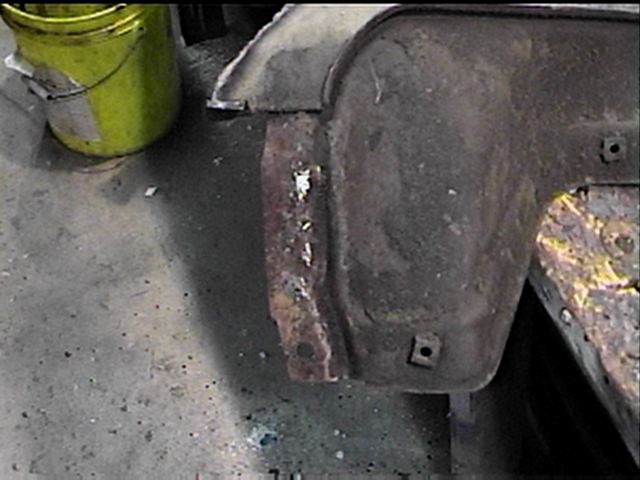
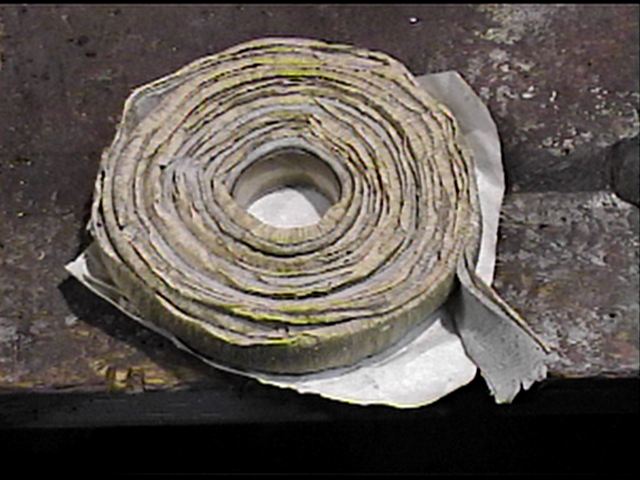
| Finally!! Down to the actual needed firewall piece, & cleaned up. This cover is from a 1962 3/4 ton pickup. It fits my 1965 Suburban floorpan like a glove. This cover stays in the truck, & the other (removable) floorpan bolts to this one. | RV gray Duct seal. This your basic RV & motorhome vent seal. It's not a tape, but it's like a rolled strip of soft putty. This will seal the flange before it gets installed into the truck. | One more little detail...
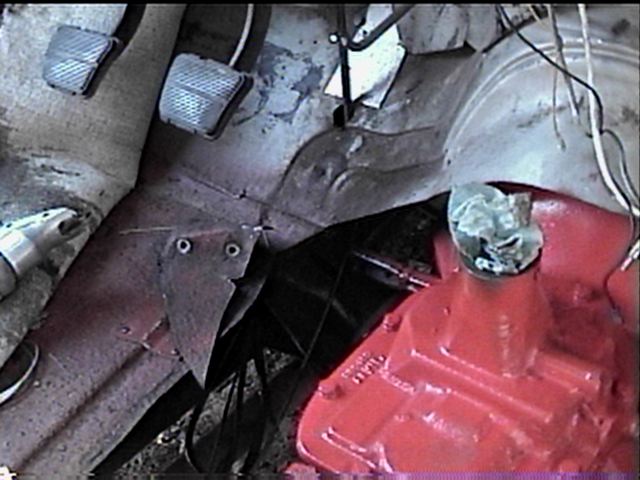
After getting the front piece check fitted, I discovered the old gas pedal mount is much different. Back to Dan's for the 4-speed version. This hump shaped mount will have to be cut away. |
 |
 |
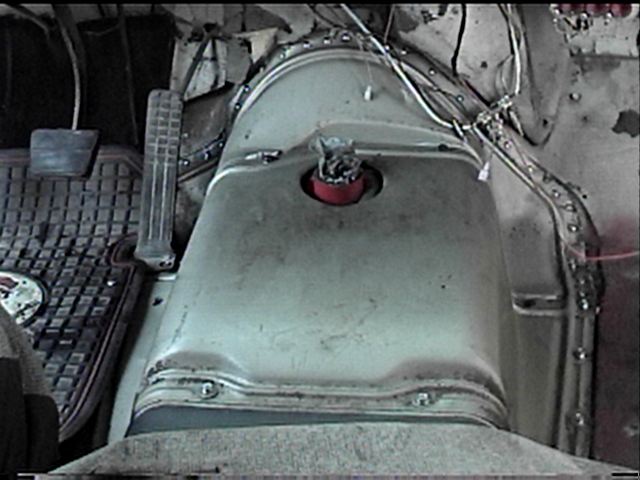 |
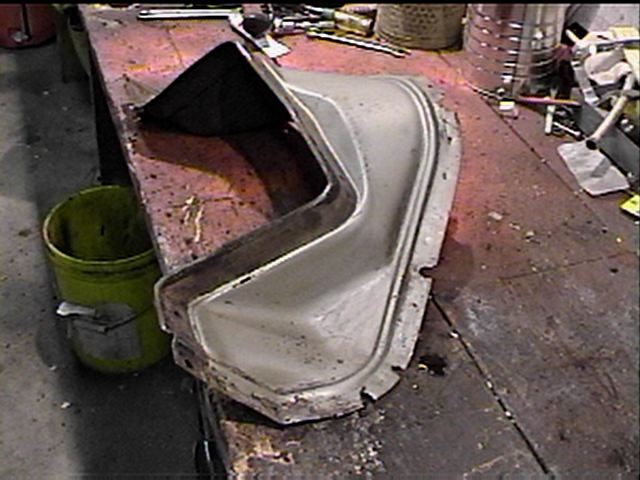
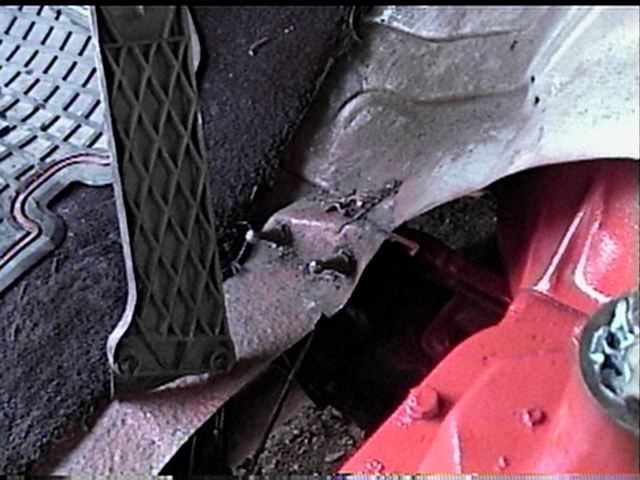
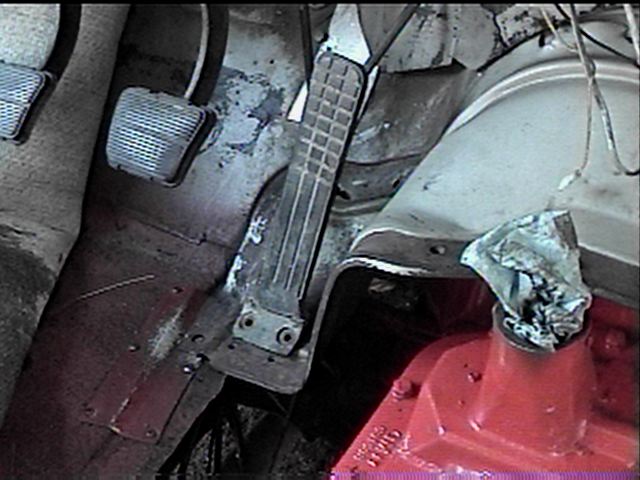
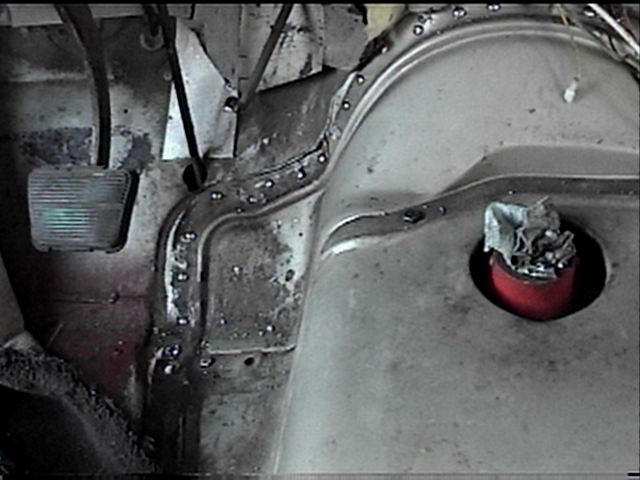
| The old mount removed. There's lots of clearance underneath. The arm under the floor is the clutch actuator which is about 3" below the floor. A little extra cutting on the upper edge might be necessary for a good fit of the new floorpan. | The new firewall piece check fitted, & the new gas pedal. Notice the holes in the new firewall piece for the gas pedal's mounting screws. Note the rag in the shifter hole. Don't let debris fall into the tranny! | The easiest way to get things lined up is to bolt the covers together,
then attach the front piece where it goes. I used sheet metal screws every
1 1/2" after applying RV duct seal to the edge. The seal will ooze out
as it gets tightened down, making it airtight.
Note: If you're doing this to a cab off-chassis restoration, welding this piece in would be better. I didn't want the sparks in a truck full of wiring, carpeting, & other flammable items. |
 |
 |
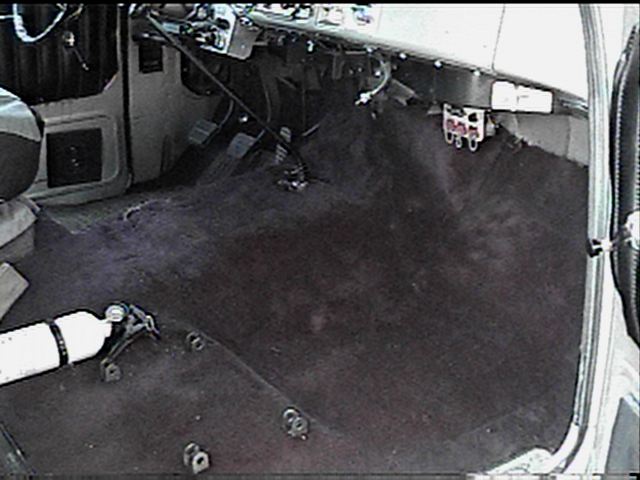 |
| I removed the rear cover so I could seal it with RV duct seal before setting it back down for good. The front piece is now solid as a rock. The next time the transmission needs work, the rear cover is simply unbolted, & this new hole is where you can service it from. | The rear cover sealed & bolted down. Ready for carpeting & the new gas pedal. It's getting closer the being a civilized truck again! | The carpet put back down. It fits right on the passenger side, but is about 3" short on the driver's side due to the new large center hump. The way I cut the carpet allowed it to somewhat fit straight again. I'll use extra carpet to splice in the driver's side gap. |
~ 6066 GMC Trucks ~ 6066 GMC Trucks ~ 6066 GMC Trucks ~ 6066 GMC Trucks ~ 6066 GMC Trucks ~ 6066 GMC Trucks ~ 6066 GMC Trucks ~ 6066 GMC Trucks ~
© 2000-2008 6066 GMC Trucks. Last Updated July 20, 2008.